Restoring your family photos can enhance the colors, eliminate scratches and cracks, preserve the original image, and protect your precious memories from further deterioration. You can restore photos yourself, but there are also restoration companies that can help you with professional restoration techniques.
While Capture doesn’t offer complete photo restoration, for over 20 years we’ve been preserving photo memories and offer complimentary glare removal, cropping, and color correction. However, if you want to restore other issues like significant fading or scratches, we put together this guide to 4 effective methods to help you out.
Keep reading to understand why picture restoration is necessary, the benefits of professional restoration, and how you can use digital restoration and other DIY methods to restore old photos on your own.
Understanding the Need for Picture Restoration

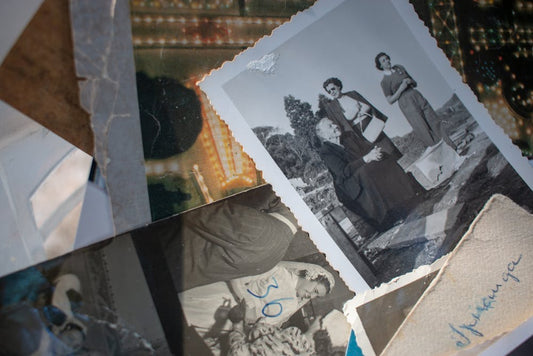
Old photographs contain precious memories that you might want to view, share, and pass on to future generations. Unfortunately, family photos can experience lots of damage over time, even if you take good care of them by using best practices for how to store film, negatives, Polaroid pictures, and other old pictures.
Old photos can fade over time which means instead of vivid colors, the images look dull, washed-out, or subdued. Additionally, the material can start to wear out and break down, especially when not stored properly.
Even when organizing photos in photo albums with acid-free paper, environmental factors like sunlight, humidity, heat, and simply the passing of time can contribute to old damaged photos. They can also develop scratches, tears, creases, blemishes, and other noticeable damage that makes it impossible to see and preserve the entire photograph.
By restoring damaged and faded photos, you eliminate all these damages, restore the color, and ensure that you can keep enjoying and sharing the images with loved ones.
1. Professional Restoration Services
The first option to restore photographs as well as photo slides and even negatives is to hire a professional restoration service. There are many benefits to choosing a professional company to restore photos.
First, it ensures high-quality results. You can even request certain special services such as performing face enhancement, colorizing black and white images, or executing complete picture restoration converting photos to digital JPG or PNG format.
Second, a photo restoration service will ensure that the original copies of your old images are safe and protected throughout the photo repair process. Many of them offer satisfaction guarantees and will go above and beyond during the restoration process to ensure your old memories are safe and sound.
The main downsides to professional restoration versus DIY options are the time and cost. When you’re paying someone else to use professional equipment to restore and recover pictures, then it’s going to cost more than many of the options that you can use at home. Additionally, you might have to wait a few weeks to get your old family photos back as well as the restored copies.
If you do choose photo restoration, make sure you compare the top options, their services, and their reputations. For example, if you want to primarily digitize your photos with some restoration involved, you need to compare ScanCafe vs Capture.
One of the best companies is FixThePhoto because their pricing is reasonable at $25-$50 per photo for fire and water restoration, mold repair, scratch removal, photo enhancer, and more to restore images. However, they don’t digitize old photos. Other popular options include WeEdit.Photos, Image Cleanup, and Smooth Photo Scanning.
2. Digital Restoration Techniques
The second method to restore photos is using DIY digital restoration. By using popular photo editing software like Adobe Photoshop, Inpaint, PhotoScape, and Capture One. While many of these are fairly complex and take time to learn, others offer a simple user-friendly interface.
When choosing the best photo restoration software for your needs and goals, make sure you consider features like drag-and-drop photo editing, black and white photo colorization, scratch removal, and other photo enhancer tools that can help you perform restoration.
Additionally, you’ll need the best photo scanner for the type of photos you have that can digitize them into high-quality images. For example, a scanner for photo slides or Polaroids might not be great for 35mm negative scanning. You can also have Capture or another digitization service perform this step for you.
Here are the steps to scan and retrieve images, restore them, and save them:

1. Scan Images One at a Time: Plug in the scanner and install the software. Then, scan each image one at a time saving them to an easily accessible folder.
2. Upload Photos to Photo Editing Software: Once you’ve scanned the photo or photos you want to restore, upload images to the software. You may be able to drag and drop, but it depends on the specific software you chose.
3. Crop the Image: Next, use the cropping tool to remove any unnecessary edges of the photo, particularly if the edges are very damaged. Make sure from this point forward you save each version under a different file name to compare the changes.
4. Correct the Tone: Next, you’ll want to correct the photograph’s tone. Start with the brightness level to bring out the clarity in a faded photo or brighten the photo if it’s too dark. Then, use color sliders to remove any tinting or discoloration.
5. Fix Scratches and Blemishes: Photo editing tools usually have dust and scratch filler that allows you to manually fill scratches with the right color match. While the process will depend on the tool and the damage, make sure you magnify the image first, work slowly, and zoom out often to check your progress.
6. Fill Tears or Missing Areas: Some photo restoration technology uses AI algorithms to allow you to repair, clone, recreate, and fill missing portions of the photo caused by tears or damage. This is the next step to finalize the photo restoration process because it will use the other restorations to ensure this step is correct.
7. Save, Print, and Share: Save the final version and compare it with the original as well as other copies you created along the way. Then, you can print photo gifts for him or her. You can also share the digital copies on social media and email.
3. DIY Methods for Restoring Old Photographs
Another option to recover images and restore their original beauty is to physically clean and restore the photos. While this will only do so much and won’t be able to fill in scratches, enhance color, or eradicate fading, it is smart to use this before scanning photos. Plus, if you use the right techniques, it might have more of a positive effect than you think.
First, you’ll want to clean dirt, sand, or other debris and residue from the image by gently using a very soft-bristle toothbrush. If there is a large amount of dirt and debris, you can very carefully rinse it under room temperature water before letting it dry in a cool, undisturbed, dark area. If it changes color particularly to red, yellow, or white, then you might need to request help from a pro.
Second, use acid-free tape to secure tears in your old photos. Acid-free will not damage the photograph, but it’s still best to use the smallest amount of tape possible on the back of the photo because this will have the best influence on image appearance.
Next, if the photo has curled edges, then you can use a homemade humidification chamber made from a plastic storage bin filled with a couple of inches of water. Place a wire rack into the container and make sure that the top is above the water level. Place a photo on the rack, close the lid, and let it sit for a few hours checking periodically and wiping away beads of water on the photo if they appear. Remove the photo and let it dry and the curls should be reduced or eliminated.
4. AI Photo Restoration Tools and Apps
The last method to recover photos is to use Android or IOS apps for photo retouching. You can use these types of phone apps to scan and restore photos. While they are unlikely to offer the high quality of professional restoration or in-depth specialized tools, they are typically fast, affordable, and somewhat effective for certain restoration needs.
One of the most popular choices for iPhone users is YouCam Enhance which acts as an image enhancer to revitalize old or low-quality images using AI technology. It’s very easy to use because it automatically detects certain defects and blemishes.
Another popular choice that’s available for both Apple and Android devices is PhotoMyne. This app is designed to automate the scanning and photo stitching process. Simply point your phone camera to scan the photo. Then, use auto-enhance to eradicate blurriness or use the photo colorization features to add color to black and white images.
Preserving Restored Photographs

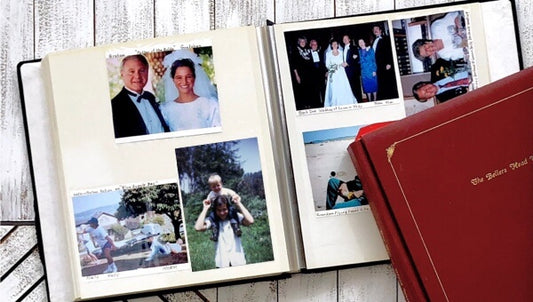
Once you restore the photos whether digitally or physically, it’s important to organize and store them properly. For physical photos, keep them in a dry, dark, cool place and if you keep them in albums make sure you use acid-free paper. Then, when you handle them try to pick them up from the edges.
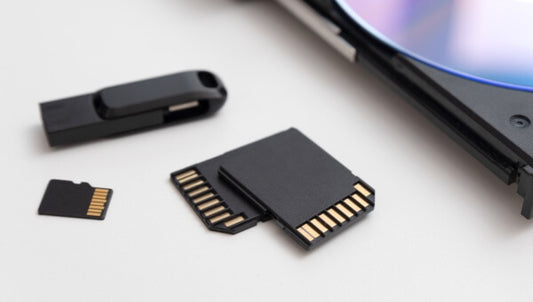
For digitally restored photos, you should strive to make copies and save them on the cloud. If you don’t use the cloud, then we recommend storing them on at least two devices. That way deleted photos or damaged devices do not lose your favorite memories forever.
Capture offers digitization services for photos, negatives, and slides and we offer included cloud storage as well as automatic integration with your Google Photos library. We also offer the first-ever touchless photo album scanning, which means we can digitize photo albums without anyone having to touch the photos, making it perfect for digitizing old photos that might be damaged.
This prepares your entire photo collection for restoration in the highest possible quality because we also perform retouching and color correction during the digitization process. Then, you can use photo editing software and image enhancement tools to improve, edit, or combine photos or even create great presents for dad or mom while keeping the originals in premium condition.
When to Seek Professional Help
With old photos that are severely discolored, brittle, water-damaged, or extremely torn, or those that are stuck in albums or frames, we recommend using a professional restoration service. Those memories are one-of-a-kind, and a professional will know how to prep and restore pictures using specialized equipment and techniques that don’t damage them further.
The same goes for any valuable photos or very old photos over 50-75 years old even if they don’t appear damaged. That’s because to properly recover photos that are very old some precise processes or tools might need to be used.
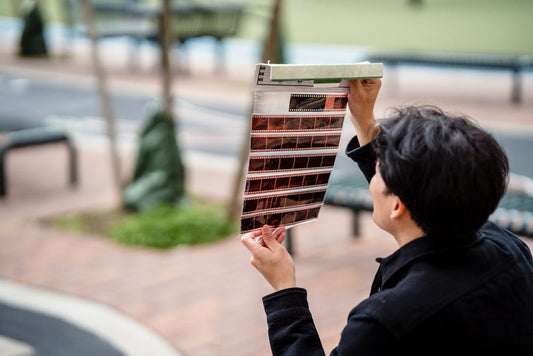
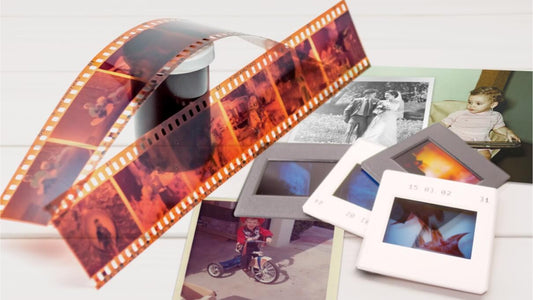
Finally, if you don’t know what to do with old slides or negatives and don’t want to invest in a professional scanner, a restoration service might be a good choice for updating these to digital while ensuring that the quality is retained throughout the process.
Conclusion
If you want to restore pictures that are discolored, faded, damaged, old, or blurry, then there are plenty of options. You can restore snapshots using phone apps or software, restore old photos using physical cleaning processes, or send them to a professional restoration service to retrieve pictures and restore them to their former glory.
For digital restoration, you’ll first need to digitize photos. Capture can transfer your photos, negatives, slides, and photo albums to digital in the highest possible quality to ensure a smooth restoration process. Click here to learn about our photo scanning services!


