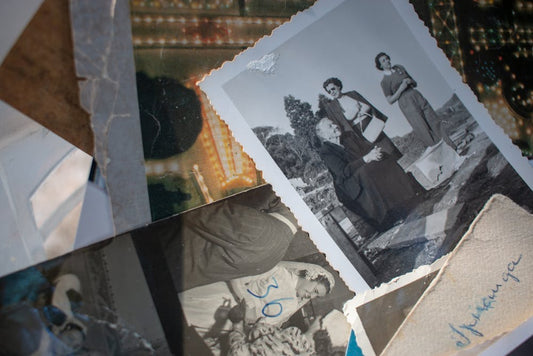
Negatives are a direct link to the past, but time isn’t always kind to them. Dust, scratches, and fading can diminish image quality, making it crucial to address any damage before scanning. Capture shares some tips on how to spot and repair damaged negatives before scanning to ensure the best possible results. With proper care and the right techniques, you can restore clarity and preserve every detail before digitizing your film.
Jump to:
The Value of Negatives vs. Prints
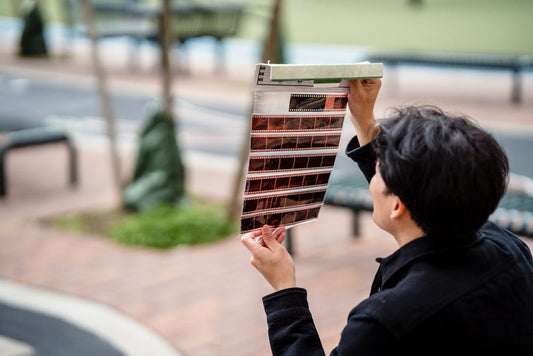
Negatives contain significantly more image data than prints, preserving fine details, sharpness, and a wider dynamic range. While prints degrade over time, negatives hold the original image information, allowing for better restoration and color correction. Scanning a print means working with a lower-quality reproduction, whereas converting negatives to digital captures the full depth of the original photo.

How Damage Affects Scanned Quality
Any damage to a negative will be visible in the scanned image. Even small imperfections can cause major issues:
- Scratches and dust: Appear as white spots on color negatives and black spots on black-and-white negatives. Scratches often show as streaks or lines that distort the image.
- Mold and mildew: Cause dark blotches and may permanently damage the emulsion layer if left untreated.
- Water stains: Lead to smudging, uneven fading, and can cause the emulsion to lift off the film if severe.
- Color shifts: Make images appear overly blue, red, or yellow, especially in old or poorly stored negatives.
Careful inspection and repair before scanning help prevent these defects from becoming permanent in the final digital image.
Identifying Different Types of Damage
Negatives suffer from physical, chemical, or environmental damage. Recognizing these early ensures better scanning and restoration results.
Scratches, Tears, and Bends
Scratches range from minor surface marks to deep emulsion damage. Light scratches may be minimized with special scanning techniques, but deep scratches require digital correction. Bent negatives can cause uneven focus, making images look distorted.
Mold, Mildew, and Water Stains
Negatives stored in humid environments are prone to mold and mildew, which create discoloration and can deteriorate the film. Water stains smudge details and weaken the emulsion layer. Storing negatives in dry, temperature-controlled spaces prevents this damage.
Color Shift and Fading
Over time, negatives develop a red, blue, or yellow tint due to heat, air exposure, or chemical instability. This is common in color negatives, while black-and-white film is more resistant to fading. Color shifts can be corrected during scanning, but extreme cases require digital restoration to recover lost details.

Preparation and Safety Measures
Before working on negatives, ensure you have the right tools:
- Lint-free gloves: Prevent fingerprints and smudges.
- Air blower or anti-static brush: Removes loose dust.
- Microfiber cloth and film cleaner: Helps dissolve grime and oil.
- Well-lit, dust-free workspace: Allows for careful inspection.
Handling Negatives Correctly
Always hold negatives by the edges to avoid fingerprints. Use an air blower to remove dust before applying any cleaning solutions. Never rub negatives with a dry cloth, as this can create new scratches.
Basic Repair Techniques
Removing Dust and Loose Debris
Dust is one of the biggest issues when scanning negatives. To remove it safely:
- Use compressed air or a soft anti-static brush to lift dust off the surface.
- For stubborn dust, gently wipe with a microfiber cloth dampened with film cleaner.
- Avoid tissues or paper towels, as they can scratch the film.
Using Film Cleaner vs. DIY Solutions
Commercial film cleaners are the safest option for deep cleaning, as they dissolve fingerprints and grime without harming the emulsion. Some people use 90%+ isopropyl alcohol, but this should only be applied sparingly with a lint-free cloth and tested on a small section first.
Minimizing Scratches During Scanning
Scratches on negatives can be difficult to repair, but these techniques can help:
- Digital ICE Technology: Available in some scanners, this infrared scanning method detects and reduces dust and scratches (not effective on black-and-white negatives due to silver content).
- Adjust light angles: Experimenting with scanner light direction can sometimes make scratches less visible.
- Scan at high resolution: Allows for better post-processing and digital correction of defects.
Advanced Restoration Methods for Fixing Scratched Film Negatives
For deep scratches, fading, or color shifts, digital tools are necessary.
- Clone and heal tools in Photoshop or GIMP restore missing details by blending surrounding areas.
- Curve adjustments and channel mixing help correct color shifts.
- Contrast and exposure adjustments recover faded areas.

When to Seek Professional Help
If negative film is severely damaged by mold, deep tears, or extreme fading, professional restoration may be the best option.
Experts use:
- Film rewashing: A chemical process that removes stubborn contaminants like mold and mildew.
- High-end digital restoration: Professional retouching tools can reconstruct missing details without affecting the original negative.
Spot and Repair Damaged Negatives Before Scanning
Negatives hold irreplaceable memories, and taking care of them ensures the best possible scans. By learning how to spot and repair damaged negatives before scanning, you can prevent damage from affecting your digital images. Cleaning, repairing, and storing them properly ensures that when you convert 35mm negatives to digital you achieve the highest quality results with the most accurate colors and details.