Not many people listen to audio cassettes anymore because compact discs, Mp3 players, and Bluetooth devices offer high-quality audio without the risk of damage or deterioration. However, you probably don’t want to buy new albums, music, and audio recordings every time you update to a new format, which means you need to convert cassette to CD.
For over 20 years, Capture’s number 1 priority has been preserving your precious analog media by updating it to digital format, so we put together this guide to make sure you know how to perform a cassettes tape transfer to CD.
Keep reading to learn about the cassette to digital conversion process, the best methods for converting to CD, and some tips to make sure you get the highest quality digital audio.
Jump to:
Understanding the Process

Audio cassette tapes were invented by Philips in 1963 and since then many companies also made cassettes. There were also other audio tape formats like Microcassette. One of the benefits of cassettes was that they were more compact than vinyl records, wouldn’t skip, and could hold more data than 8-tracks.
That’s why audio cassettes remained the best way to store audio files for a long time. Plus, most vehicles from the 80s and 90s came standard with cassette players. Additionally, the Sony Walkman and other portable cassette recorders and players made it possible to listen to tunes with headphones on the go.
Plus, you could easily use a blank cassette to record radio songs and programs without any expensive technology. Then, if you had a dual tape deck, you could use the reel-to-reel feature to duplicate your cassette as a mixtape to pass around to friends and family!
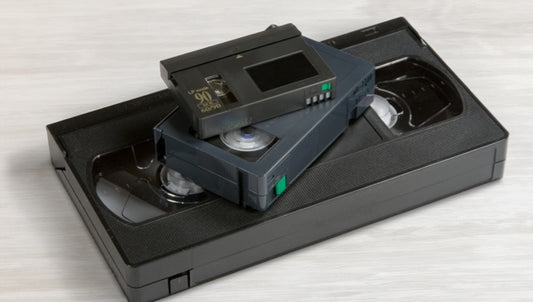
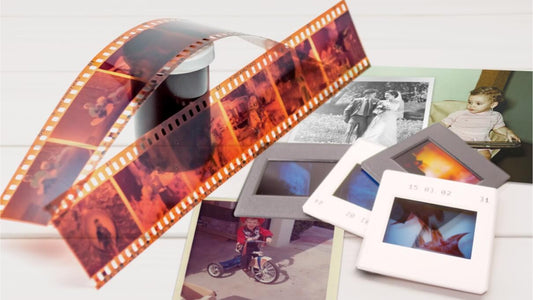
It wasn’t until the appearance of CDs as a digital playback method that audio tape players and cassettes became obsolete. It was the dawn of the digital age and audio cassettes weren’t the only analog formats to get replaced. For example, the history of VHS tapes was drawing to an end and many families started to digitize their photo collections.
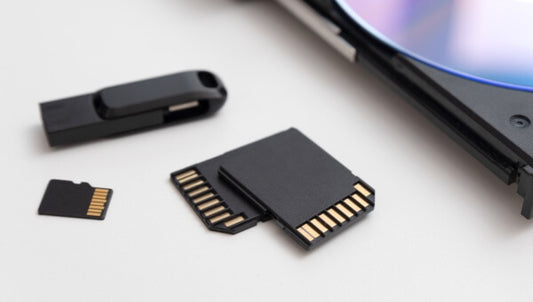
Not long after the release of CDs came Mp3 players like the immensely popular Apple iPod. It was clear that audio cassettes would be obsolete soon, but that doesn’t mean you have to throw away your vintage cassette players and tapes. Instead, it’s important to convert audio cassette to CD, flash drive, or digital download.
Methods for Converting Cassettes to CDs
You have a few different options when it comes to cassette tape to CD conversion. You can perform the CD transfer manually yourself, use a professional digitization service, or get your own software to simplify the manual cassette tape to MP3/CD conversion.
Manual Conversion Method

The manual conversion methods will basically copy your old tapes to an audio CD in real-time using a dual boombox or cassette recorder. This is a little time-consuming but is also fairly easy and doesn’t require complicated processes. However, while you won’t need a computer you also won’t end up with digital files that you can share over social media or email.
What you need:
- Dual tape deck and CD player/recorder
- Blank CD
Step 1: The first step is to insert the cassette with Side One facing out or away from the turntable.
Step 2: Simply insert the audio cassette and rewind it all the way to the beginning. You can also do this by winding it manually using a pencil.
Step 3: Press “Eject” to open the CD burner section and place a blank recordable CD disc into the tray. Make sure you use a blank CD-R or CD-RW because those are the types that you can record onto.
Step 4: Press “Play” on the cassette side and “Record” or “Burn” on the CD side. The specific language will depend on your specific turntable manufacturer.
Step 5: You will hear the audio as it records, so when it reaches the end of Side 1 and stops playing, press “Pause” on the CD control panel. Then, press “Stop” on the cassette side.
Step 6: Open the cassette side, flip the cassette around so that Side Two is facing out, then close and repeat steps 4 and 5.
Step 7: Finally, rewind and remove both the cassette and the CD that should have the same audio files included.
Professional Conversion Services
Another option to convert cassette to CD is by using a professional transfer cassette to CD service. Many companies offer this service including Southtree and Legacybox, but make sure you check the reviews. Additionally, for any transfer service, it’s smart to compare your digitization options before deciding on the best choice for your precious memories and media.
By using a professional conversion service, you can save lots of time because they will complete the entire process for you. Plus, they will use specialized equipment and may even perform minor cleaning and repairs for your cassette prior to audio transfer, which means you get the highest possible quality.
To use these services, you will simply mail them your audio cassettes and any instructions about the audio contained in them. They will then perform the CD transfer and send both your new CD copy and original media back to you. Plus, you may have the chance to get a flash drive copy as well as DVD or digital download that contains your music or audio files.
Software-based Conversion

The software-based archiving method involves connecting your old cassette player to your computer’s sound card. Then, you’ll record the audio onto the hard drive in WAV file or Mp3 file format using cassette to CD conversion software. Then, transferring them to CD is simple as long as you have a compact disc drive on your PC.
In addition, you can use the sound recording software to improve the sound quality and you’ll have WAV or Mp3 format copies that you can store on your hard drive, share on social media, create playlists, and preserve without worrying about losing the sole physical copy.
What you need:
- “Y” stereo adapter cable with RCA connectors on both ends
- Computer with a sound card (most computers will work)
- Cassette Player with audio RCA output
- Sound recording software (Like the free version of Audacity)
Step 1: Place your audio cassette in your tape player. Play a few seconds to make sure it’s working. Then, rewind it all the way.
Step 2: Connect the RCA cable to the cassette player and the line-in of your PC sound card. Alternatively, you can use a 3.5mm headphone jack to connect a Walkman or other cassette player to the RCA ports on your computer. However, this will likely have lower sound quality.
Step 3: Open the sound recording software on your PC. Then, if available, you can set the file type to Mp3 or WAV. Next, click the “Record” button. This button may say “Record” or have a red circle.
Step 4: Immediately after, press “Play” on your cassette player.
Step 5: When the cassette reaches the end of side 1, click to stop recording. Then, flip the cassette and repeat steps 3 and 4.
Step 6: When the recording is complete, click “stop” on your software. Then, make sure you save the audio file using the “Save” feature. At this point, you can also edit the audio if you want.
Step 7: Insert a blank CR-R or CD-RW disc into the disc drive. Once the software recognizes it, you can drag and drop the saved files to the designated CD drive. Depending on the software you choose, it might also have the option to burn directly from the software onto your blank disc.
Tips for Successful Conversion

To ensure you convert analog cassette to digital CD in the highest possible quality, there are some tips that you should keep in mind. First, make sure you clean the audio cassette before CD transfer. To do this, you can use a pencil to wind the tape through and wipe it clean with a microfiber cloth.
In addition, make sure you use the audio levels on your dual cassette/CD turntable or recording software so that it isn’t distorted, overly loud, or too quiet. While this might take some time to get used to, you’ll end up with high quality audio CDs.
Finally, make sure you label your CDs as well as digital file folders for easy organization. We strongly recommend not only organizing your audio CDs and music files, but also organizing your physical and digital photos, home movies, and all other media.
Conclusion
When you convert cassette to CD, you not only update to a higher quality digital file, but also protect those audio files from being lost forever. That’s because analog formats and cassettes don’t last forever. Whether you choose to use recording software, manual cassette player to CD recorder, or audio digitization service, you’ll still have the original cassettes as well as new digital CD or digital versions.
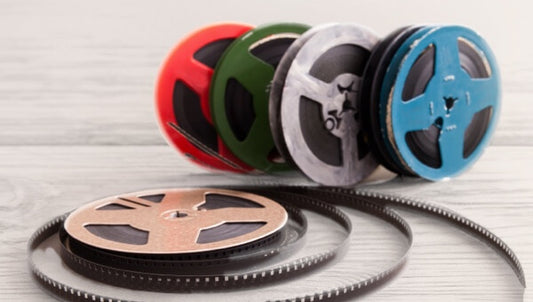
While Capture doesn’t perform audio transfers to convert cassette tapes, we can preserve your photos, videos, film reels, and other media. Plus, with auto transfer to Google Photos it will be much easier to organize your memories. Click here to learn about our premium services that are protected by a satisfaction guarantee!


