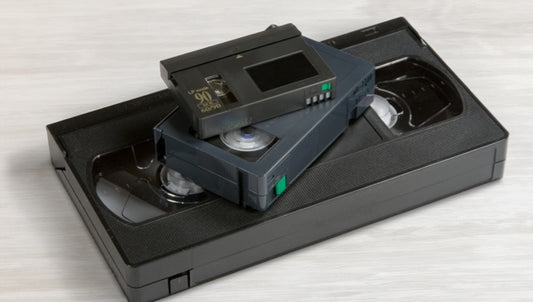
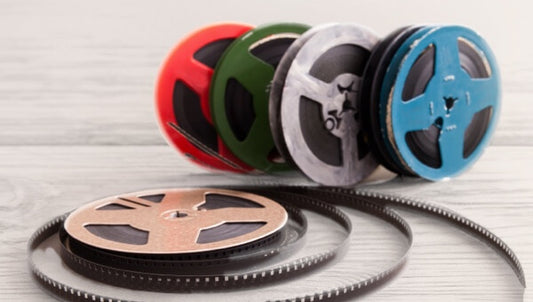
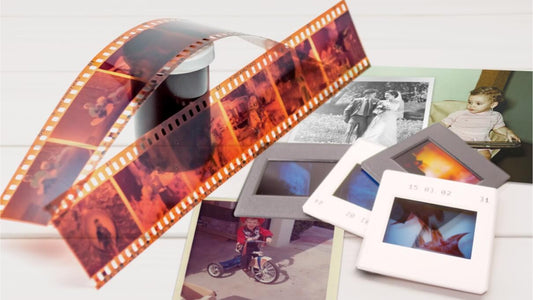
Get ready. Get sorting. Get set for digitizing. (It’s easier and more enjoyable than you might think).
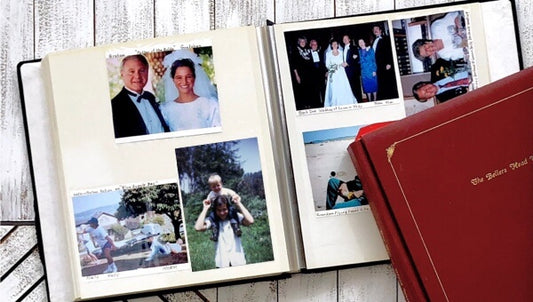
Going through your memories to decide which you are going to digitize, or digitize first, is where it all starts. (And really, it’s the only part that takes any of your time at all). It can also be incredibly fun. Many of us plan to spend time enjoying our memories—and then they end up sitting in boxes for months or even years. Memories are meant to be enjoyed—and choosing which ones to digitize gives you a great opportunity to spend time with them.
Step 1: Set yourself up for sorting success
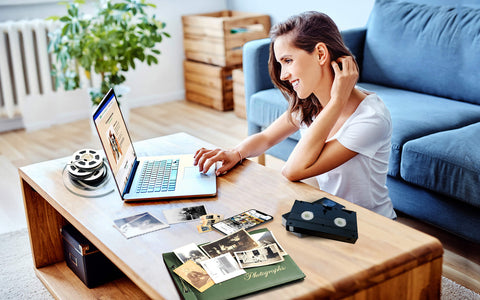
Find a space with good light and a comfy place to sit. Bonus points if you can leave it messy for a while, especially if you have a significant number of memories to sort. A large flat surface makes the process easier.
How you choose to go about sorting will likely depend on the number of memories you have, the amount of time you want to dedicate, and your end goal. Are you doing genealogy work and really want to dig in and sort like a professional memory organizer? Marvelous.
Want to take a simpler approach? Consider the following:
- Group photos, slides, videos, etc. by events and people. Sort into events such as vacations, weddings, and birthdays. Memories not associated with specific events can be grouped by person or family.
- Separate duplicates. Place duplicates in a separate pile.
- Sort each pile by date. Roughly organize each of your piles chronologically. Don’t worry—you may need to do some guessing, and it’s okay not to be perfect.
- Pick what to digitize. Put them in a pile so you can start to see how many items you have.
Step 2: Get your Time Capsule sent to you
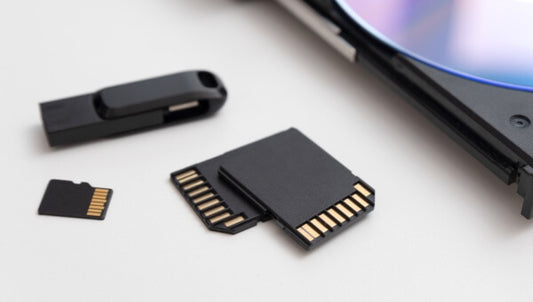
Our Time Capsule Box is the easiest way for you to securely send your physical memories to us to digitize. We’ll ship you the Time Capsule Box, along with detailed instructions and a prepaid shipping label. Four to five weeks after we receive it from you, you’ll receive your original memories back, along with the digital files on your choice of either a USB thumb drive or a DVD. If you’re a Google Photos user, you can also see your new digital files in your Google Photos Library and label and share with others from there.
End up with more items than the box you chose is slated for? Simply put them in and use the extra barcodes we provide.
Step 3: Enjoy!
That’s really all there is to it. Rest easy knowing that your memories are protected from damage and degradation over time. What’s more, now that you have digital files of your memories, you can enjoy them with today’s technology. Email your new digital copies to families and friends, use them to create gifts and other creative items with them, or something else entirely.
While preservation is what often brings customers to us, customers tell us that getting the chance to really share and enjoy their memories is an unexpected delight. Digitizing also lets you back up your memories just as you do your other important files—on the cloud, on drives, in multiple places—for peace of mind.
Want to find out more? Ready to get started? Have questions? There’s nothing we like more than talking about how to help you protect and preserve your memories.


